Countertops in Greenville, SC

A plain guide to countertops in Greenville, SC: materials, prep, installation, and fixes. It is written for homeowners across Greenville County who deal with humid summers, occasional winter freezes, and older houses.

What We Cover

Countertops in Greenville, SC

Countertops in Greenville, SC have to handle three local realities: long humid summers, occasional winter freezes, and older homes that were never built square. Each one changes how a top gets chosen, cut, and set, and each one shows up on the job long before the final seam is sealed.

This site walks through those realities the way a crew sees them, with plain explanations of what happens in the kitchen and why.

Humidity and Materials

Humid summers are hardest on wood and laminate. Moisture gets into edges, seams, and the cutout around a sink, and the material swells, lifts, or darkens. Stone, quartz, and solid surface shrug off most of that, but the cabinets and substrate underneath still move with the seasons.

Sealed seams, tight sink cutouts, and a dry, level base matter more here than in drier climates. Moisture finds the weak spot in a joint first.

Freezes and Outdoor Kitchens

Winter freezes are rare in Greenville County, but they matter for any outdoor kitchen. Water that sits in a pore, a crack, or an unsupported seam can freeze, expand, and widen the damage. Summer sun adds its own stress through heat and fading.

An outdoor top needs a material that tolerates both extremes, plus drainage and support that keep water from pooling.

Older Homes

Older homes call for the most patience. People who stroll Falls Park on the Reedy or cross the Liberty Bridge often live in houses nearby with settled floors and walls that wander off plumb. Near Furman University and across the surrounding neighborhoods, the same age-related quirks turn up.

A cabinet run that dips or a wall that bows means the top has to be shimmed, scribed, and templated to the real room, not to a straight line on paper. Gaps, rocking cabinets, and uneven backsplash lines usually trace back to these conditions.

Guides

The guides cover six topics: preparing the kitchen, choosing materials for humid summers, what happens during templating and installation, outdoor kitchen tops for sun and freezes, common problems in older homes and their fixes, and how to judge fabrication and installation quality.

Latest Guides

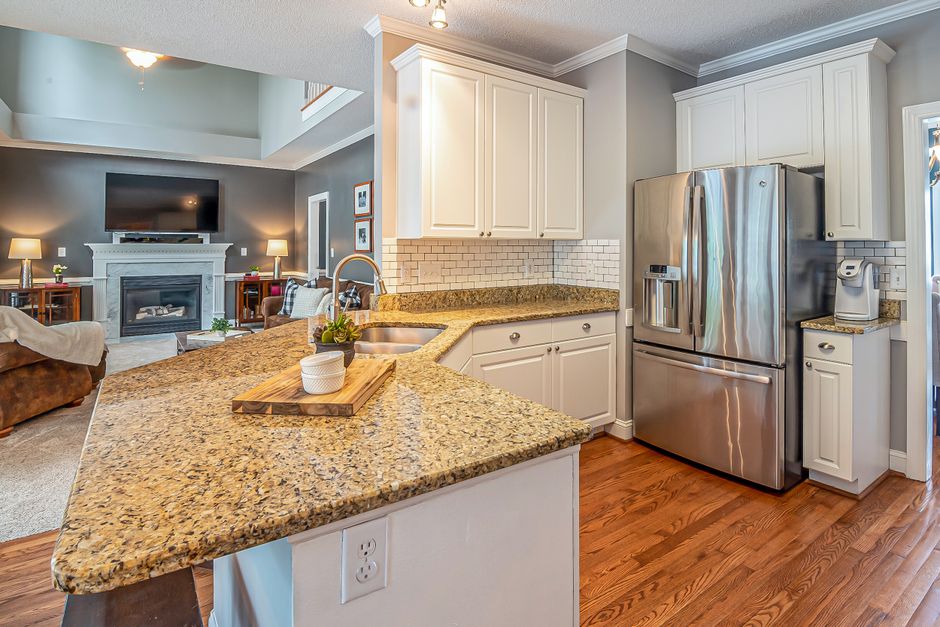
Elegant kitchen interior showcasing granite countertops and wooden cabinets.

Should You Replace Your Backsplash With New Countertops in Greenville?

2026-11-09

Replace the backsplash when the new countertop will sit at a different height than the old one, when the bottom row of tile will not survive removal, or when the existing tile fights the new surface. Keep it only when all three checks come out in its favor. In most Greenville kitchens at least one of them fails, which is why the question deserves an answer before demolition day rather than after.

Start With the Height of the Old Top and the New One
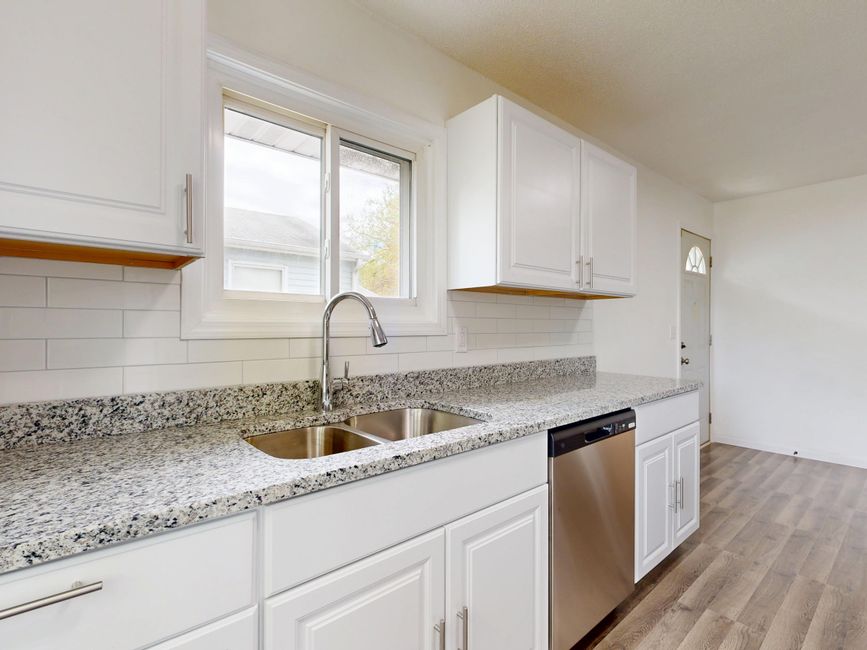
Bright modern kitchen with granite countertops and stainless steel appliances.

New countertops rarely land at exactly the old surface height. A laminate top on a particleboard buildup and a 3cm stone top set on bare cabinets can differ by a noticeable amount. That difference shows up at the wall.

  • If the new surface sits lower, a strip of bare wall or a cut tile edge appears above it.
  • If the new surface sits higher, it swallows part of the bottom tile row and can make the layout look cramped.

Before demo, measure from the top of the cabinet box to the top of the old counter. Then ask the fabricator for the finished height of the new material, including any buildup underneath. Comparing those two numbers tells you whether the existing tile line will meet the new surface cleanly.

Expect the Bottom Row of Tile to Take a Hit
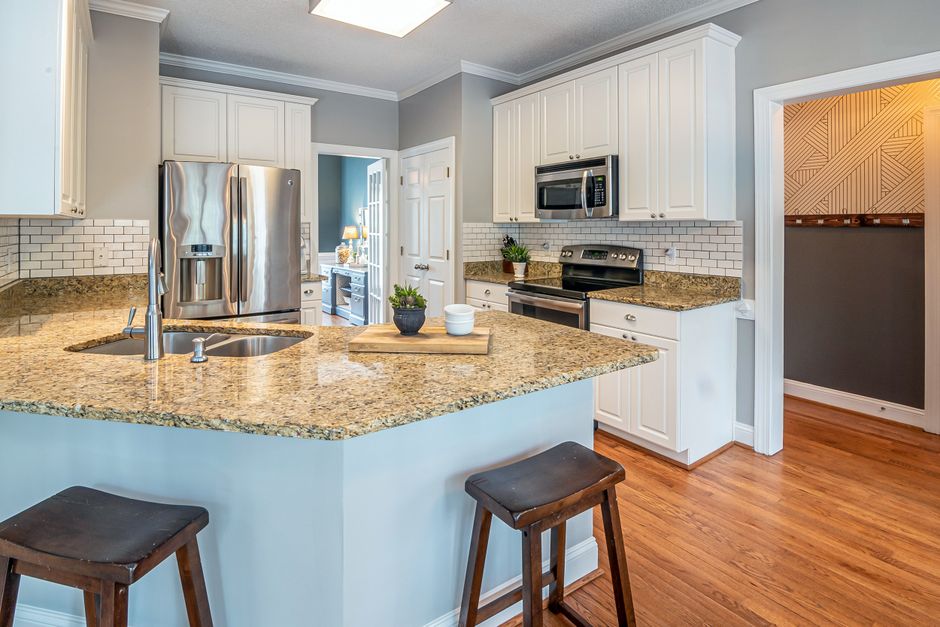
A bright modern kitchen with granite countertops and stainless steel appliances.

In many kitchens the first row of tile was set resting on the old countertop. When the top comes out, those tiles often chip, crack, or pop loose. Even a careful crew cannot promise otherwise.

A good removal process helps. The caulk line and grout joint along the bottom row should be cut with a utility knife or oscillating tool before any prying starts, and the pry bar should work from below against the cabinet, not against the tile.

Keeping the backsplash is never guaranteed to be possible. It is a bet that the tile survives, and it is better to know the fallback plan in advance.

Integral Splashes Leave a Different Wall Behind Them

Some countertops take the backsplash with them when they go.

  • Laminate with a built-in splash. These tops, often with a 4 inch splash and a coved corner, come out as one piece. The wall behind was usually never painted or tiled, and the drywall paper often tears when the adhesive lets go.
  • Coved solid surface. Solid surface material can be fabricated with a seamless coved splash, so removing the top removes the splash too.

In both cases, budget for patching and painting at a minimum. Many homeowners in this situation decide that if the wall needs work anyway, a new tile or stone backsplash is the natural finish.

Matching Old Tile Is Harder Than It Looks

If a few tiles break, the instinct is to replace just those. That usually disappoints.

  1. Spare tile may not exist. Check the garage, attic, basement shelves, or crawlspace for leftover boxes. Tile lines are discontinued often, and an exact match years later is unlikely.
  2. Grout will not match. Even with the same product, older grout has aged, stained, and been cleaned or sealed over time. Repairing one row usually leaves a visible color band.
  3. Small repairs look patched. Without spares, even a modest fix draws the eye.

If there are no spare tiles and the bottom row is likely to break, replacing the whole backsplash is often the cleaner decision.

Judge the Tile Against the New Slab, Not the Old Top

A backsplash that looked fine against plain laminate can clash with a new pattern. Busy veined engineered stone or granite against a busy patterned tile often fights for attention.

Hold the tile up against a real slab or sample, in your kitchen light rather than showroom light. If the two compete, the backsplash is the easier piece to change. A quiet tile behind a lively stone usually reads better than two statements side by side.

Consider a Matching Stone Backsplash, and Decide Early

A slab backsplash that matches the countertop has to be planned with the countertop. The fabricator needs to measure it at template time so the veining can be matched and there is enough slab. Adding it later may mean a different slab with a different look. A 4 inch stone splash is a choice, not a requirement of every stone countertop.

Check the Walls First in Older Homes

Many older Greenville homes, including mill village houses and early twentieth century homes in established neighborhoods, have plaster walls or walls that have settled out of flat. A rigid slab will not conform to a wavy wall and will leave gaps. Small format tile is more forgiving. Run a long straightedge along the wall before choosing a slab.

Tiling Over the Old Backsplash Has Limits

Setting new tile over existing tile is possible, but only when the old tile is well bonded, clean, and deglossed. The extra thickness shows at the outer edges, so a trim piece or edge profile is needed there. Check clearances at window trim and under upper cabinets as well.

Thickness also affects outlets and switches. Receptacles then need box extenders so devices sit firmly and cover plates seat flat. Have a licensed electrician handle any electrical work.

Look Behind the Old Backsplash Before Anything Goes Back

Once the old top and splash are off, inspect the wall, especially around the sink. Soft drywall, dark staining, or mold often hides behind an old splash, since leaking faucets and failed caulk lines go unnoticed. Greenville's humid summers can keep a damp wall cavity from drying out. Repair moisture damage before anything new is installed.

Older homes call for another precaution. Homes built before 1978 may have lead paint, and older mastics, joint compounds, or adhesives may contain asbestos. Test before cutting, sanding, or demolishing old walls and backsplash adhesive.

Get the Order of Work Right

The sequence matters more than most people expect:

  1. Cabinets are installed and leveled.
  2. The fabricator templates.
  3. The countertop is installed.
  4. The tile backsplash goes on last, set off the new countertop surface.

Tiling before the counters arrive means guessing the height. That guess is how a new backsplash ends up with a gap or an awkward cut.

Material Details That Change the Plan

  • Glass tile. Glass is translucent, so gray thinset, trowel ridges, and voids can show through. Use a white setting material made for glass and get full coverage behind each piece.
  • Butcher block. Wood moves with humidity, and Greenville sees large swings between humid summers and drier heated winters. Leave an expansion gap at the wall, seal all faces of the wood, and use a flexible sealant at the backsplash rather than a rigid joint.
  • Stone cutting. Cutting engineered or natural stone releases fine silica dust (silicon dioxide), which can cause silicosis when inhaled. Backsplash pieces and outlet cutouts should be cut wet, ideally at the fabrication shop or outdoors with proper controls. Never dry cut them in the kitchen.

Seal the Joint Correctly

Use a color matched silicone or flexible sealant where the countertop meets the backsplash and at inside corners, not grout. Houses on crawlspaces, common across the Upstate, move a little with seasonal moisture changes, and grout at a change of plane will crack.

Caulk is not a cure for a big gap either. A thin bead handles a very small gap. Wide caulk lines shrink, crack, and collect grime. If removal leaves a larger gap between the new top and the old tile, the honest fixes are a new bottom row, a trim strip, or a new backsplash.

When thinset and grout go in during summer, give them time. Both cure more slowly in humid conditions, so follow the product cure times before heavy use, sealing, or harsh cleaners, and run the HVAC or a dehumidifier during installation.

A Quick Way to Decide

Replace the backsplash if any of these are true:

  • The new top will sit at a noticeably different height.
  • The bottom row breaks, or there are no spare tiles to repair it.
  • The wall behind a laminate or solid surface splash needs patching anyway.
  • Upper cabinets, under-cabinet lighting, or a range hood are changing, so the top edge of the tile no longer lines up.
  • The tile clashes with the new surface when held next to a real sample.
  • Moisture damage turns up behind the sink.

Keep it if the height lines up, the tile comes through removal intact, and the look still works. Replacing during the countertop project also means one round of dust, one round of patching, and a tile layout set to the new surface. Keeping the old tile only pays off if it survives.
Read more →

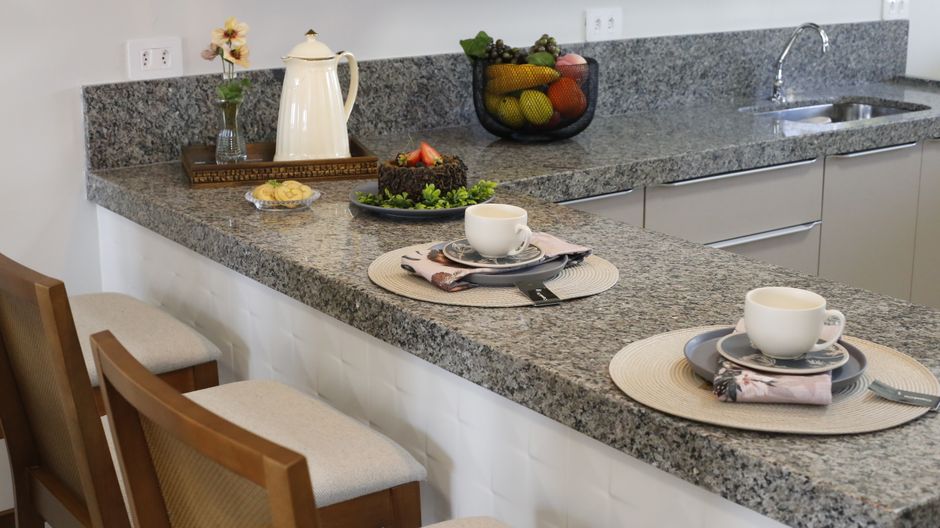
Spacious modern kitchen featuring granite countertops and wooden cabinetry.

Undermount or Drop In Sink for a Greenville Stone Countertop

2026-11-09

An undermount sink is the better looking and easier wiping choice for most stone and quartz countertops in Greenville, but a drop in sink is the easier one to maintain and replace. Which one is better for you depends on how much you value a clear counter surface today against a simple swap years from now.

Both work with granite, quartz, quartzite and marble. Stone is solid through its full thickness, so water at a cut edge is not a threat the way it is for laminate over particleboard. That is why drop in sinks are the default on laminate and only a choice on stone.

How Each Sink Sits in the Stone

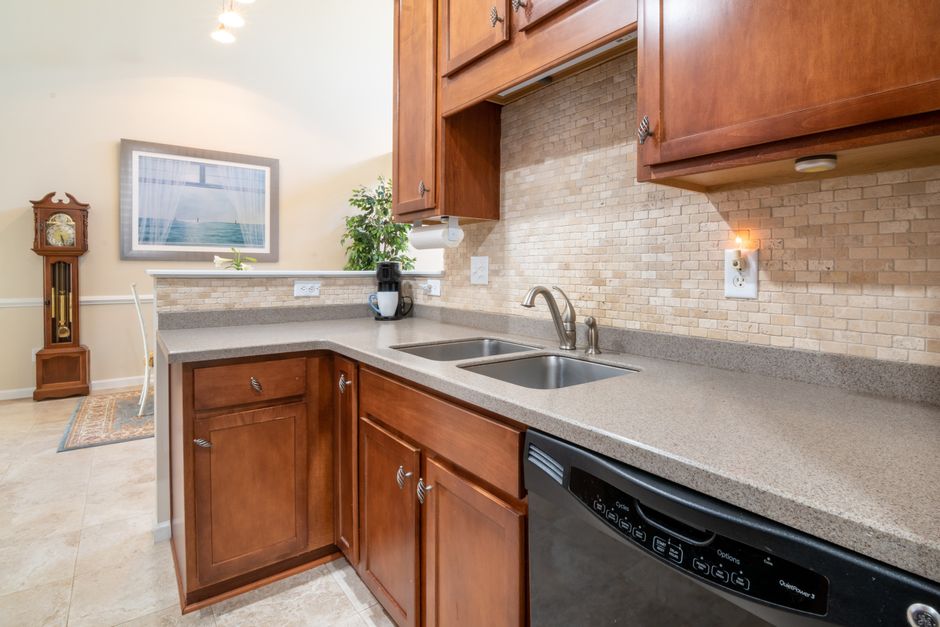
Sleek kitchen design featuring a red bowl with decorative accents.

An undermount sink hangs below the countertop. The stone's cut edge around the opening stays visible, so the fabricator has to shape and polish it. A drop in sink rests its rim on top of the counter and covers the cut edge, so the opening can be left rough sawn.

That one difference drives most of the others: appearance, cleaning, how the sink is held up, and how hard it is to replace later.

Cleaning Day to Day

Luxurious open-concept kitchen with granite countertops and modern appliances, flowing into a cozy living room with a fireplace.

Undermount wins on the countertop surface. Crumbs and spills wipe straight into the bowl with nothing to catch them. A drop in sink has a raised rim and a caulk line that collect grime, and that bead is where mildew usually shows up first.

The tradeoff with undermount is a hidden joint below, where the sink lip meets the stone. You cannot see it while wiping, so it needs a deliberate look a few times a year. Shine a flashlight around the seam from inside the bowl, then check it from below inside the cabinet.

Humidity and the Sink Seal

Greenville summers are long, hot and humid, and any sink seal that stays damp tends to grow black spots. Recaulk with a mildew resistant pure silicone rated for kitchen and bath when they appear. Bleach on the surface rarely fixes mildew that has grown into the bead.

A drop in rim is easy to inspect, scrape out and redo yourself. An undermount seam takes more effort to reach, but the same rule applies: neither style is a seal you can forget about.

Water Quality

Greenville's municipal water comes from mountain reservoirs and is relatively soft, so mineral scale at sink seams is usually less of a problem than in hard water regions. Homes in outlying parts of the county on private wells can differ, so test well water before assuming the same.

What Actually Holds the Sink Up

Support is where an undermount install is won or lost. A sink should be held by mechanical fasteners anchored into the underside of the stone, such as epoxy set studs or anchor clips, plus a sealant bead. Silicone or adhesive alone is a bond, not a support. A sink held only by adhesive can let go, especially once it is full of water and dishes.

Heavy sinks need more than clips. Cast iron, fireclay and large double bowl stainless with a garbage disposal hanging from it usually call for a support frame, rails or blocking built into the sink base cabinet. Ask your installer which method is planned before install day.

Disposals and Slow Sagging

Disposal weight and vibration work on undermount clips over time. If a gap opens at the seam, or the sink sits lower on the disposal side, have the clips retightened or reset. Filling the gap with more caulk hides the problem without fixing it.

A drop in sink carries its weight on its rim, which rests on the countertop. That makes support simpler, though the opening and cabinet still need to be sound.

Cutout Edges and the Weak Strip of Stone

The narrow strips of stone in front of and behind a sink opening are the weakest part of the whole countertop. Cracks most often start there or at the cutout corners. Rounded inside corners resist cracking better than sharp ones, and many fabricators reinforce the front strip of natural stone with embedded rods.

Quartz is not crack proof either. Thermal shock and stress at cutout corners can still split it. Engineered stone brands such as Cambria are sold on durability, but the geometry around a sink opening is the same for every material.

Never kneel or stand on the counter in front of the sink to reach a window or light. Do not let anyone lean their full weight on that front strip during plumbing work, either.

Choosing the Reveal

Undermount sinks come with three reveal choices, and the choice cannot be changed after the top is cut:

  • A positive reveal shows a small ledge of sink rim, which catches gunk.
  • A negative reveal lets the stone overhang the bowl, which hides the rim but leaves a thin stone edge that can chip.
  • A zero or flush reveal looks cleanest but demands precise alignment.
Caring for the Exposed Edge

On granite, the polished cutout edge sees standing water every day, so include it when you reseal. Splash water on the edge: if it darkens within a few minutes, it is time. Sealing helps, but it does not make granite stainproof or waterproof forever. Quartz does not need sealing.

Marble and other calcite based stones etch from acidic foods and cleaners, and the exposed undermount edge is often the first place it shows. Use pH neutral cleaners around the sink on those stones.

Planning Details That Catch People Out

Give the Fabricator the Real Sink

Undermount openings are cut to match a specific sink. The fabricator needs the actual sink, or its exact manufacturer cutout template, at templating time. Swapping sinks after the top is cut is the most common cause of mismatched reveals and extra cutting.

Count the Holes

With an undermount, faucet and accessory holes are drilled through the stone itself. Many drop in sinks come with pre-punched holes in their own deck. Decide on the faucet, soap dispenser, sprayer and air gap before fabrication. Adding a hole later is possible but riskier.

Check the Cabinet First

In older Greenville housing, check that the sink base is level, square and solidly attached to the wall before templating. That includes mill village homes around Monaghan, Judson and Brandon, and older houses near North Main. An out of level cabinet or a tired box puts uneven stress on stone right at the cutout.

Older kitchens also often have narrower sink bases than current designs. Measure the inside width before falling for a large single bowl. The bowl and its support have to physically fit inside the box.

Apron front sinks, especially fireclay, usually need a cabinet built or modified for them, plus their own support platform. Do not plan one as a simple swap into a standard sink base.

Replacing the Sink Years Later

Replacement is where drop in sinks win. If the new sink's rim covers the old opening, the swap is mostly a plumbing job.

An undermount replacement means cutting the old sink free from below, and the new sink must fit the existing cutout. A cutout can be enlarged but never made smaller. When shopping, look for a model whose bowl opening matches or slightly exceeds the current cutout, and match the reveal style you have now for the cleanest result. Bring the old sink's measurements, not just the cabinet size.

Enlarging a Cutout Safely

Enlarging an opening in place means cutting stone in your kitchen. Cutting engineered quartz and many natural stones releases respirable crystalline silica, which is silicon dioxide dust, and repeated exposure can cause silicosis. The work should be done wet with dust control by a professional, with family and pets out of the room.

Which One to Choose

Choose undermount if you want a clean counter, you will wipe the surface daily, and you are willing to inspect a hidden seam and keep the clips tight. Choose a drop in sink if you want the simplest support, an easily redone seal, and a painless swap down the road. Neither is wrong on granite or quartz. Undermount rewards good fabrication and planning up front, and drop in rewards low effort over the years.

Read more →