Should You Replace Your Backsplash With New Countertops in Greenville?
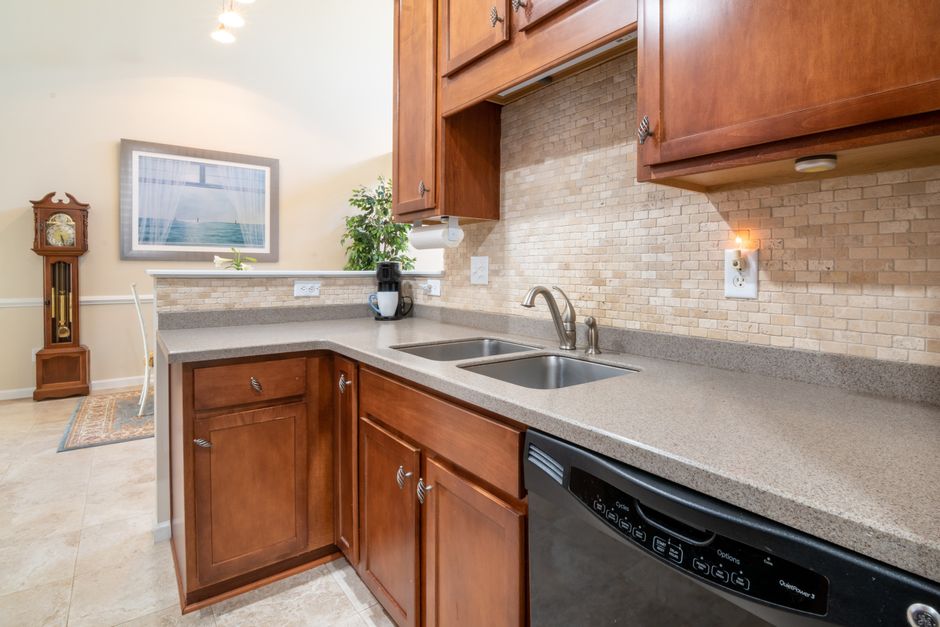
Replace the backsplash when the new countertop will sit at a different height than the old one, when the bottom row of tile will not survive removal, or when the existing tile fights the new surface. Keep it only when all three checks come out in its favor. In most Greenville kitchens at least one of them fails, which is why the question deserves an answer before demolition day rather than after.
Start With the Height of the Old Top and the New One
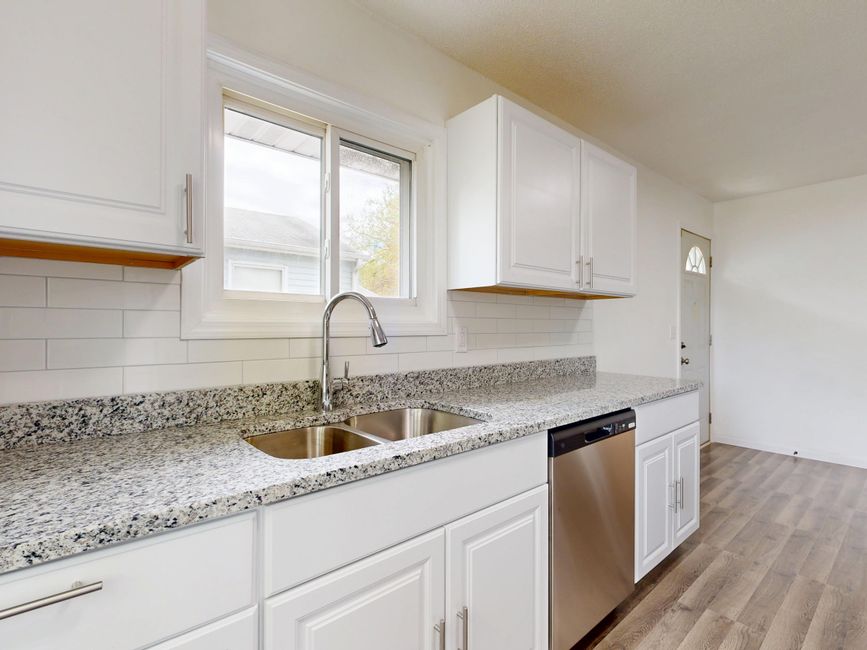
New countertops rarely land at exactly the old surface height. A laminate top on a particleboard buildup and a 3cm stone top set on bare cabinets can differ by a noticeable amount. That difference shows up at the wall.
- If the new surface sits lower, a strip of bare wall or a cut tile edge appears above it.
- If the new surface sits higher, it swallows part of the bottom tile row and can make the layout look cramped.
Before demo, measure from the top of the cabinet box to the top of the old counter. Then ask the fabricator for the finished height of the new material, including any buildup underneath. Comparing those two numbers tells you whether the existing tile line will meet the new surface cleanly.
Expect the Bottom Row of Tile to Take a Hit
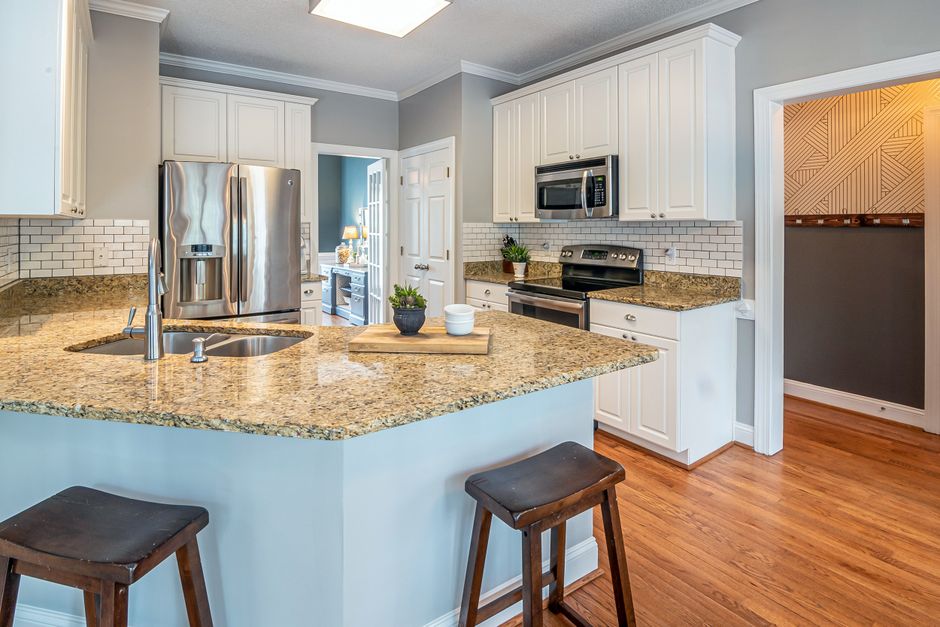
In many kitchens the first row of tile was set resting on the old countertop. When the top comes out, those tiles often chip, crack, or pop loose. Even a careful crew cannot promise otherwise.
A good removal process helps. The caulk line and grout joint along the bottom row should be cut with a utility knife or oscillating tool before any prying starts, and the pry bar should work from below against the cabinet, not against the tile.
Keeping the backsplash is never guaranteed to be possible. It is a bet that the tile survives, and it is better to know the fallback plan in advance.
Integral Splashes Leave a Different Wall Behind Them
Some countertops take the backsplash with them when they go.
- Laminate with a built-in splash. These tops, often with a 4 inch splash and a coved corner, come out as one piece. The wall behind was usually never painted or tiled, and the drywall paper often tears when the adhesive lets go.
- Coved solid surface. Solid surface material can be fabricated with a seamless coved splash, so removing the top removes the splash too.
In both cases, budget for patching and painting at a minimum. Many homeowners in this situation decide that if the wall needs work anyway, a new tile or stone backsplash is the natural finish.
Matching Old Tile Is Harder Than It Looks
If a few tiles break, the instinct is to replace just those. That usually disappoints.
- Spare tile may not exist. Check the garage, attic, basement shelves, or crawlspace for leftover boxes. Tile lines are discontinued often, and an exact match years later is unlikely.
- Grout will not match. Even with the same product, older grout has aged, stained, and been cleaned or sealed over time. Repairing one row usually leaves a visible color band.
- Small repairs look patched. Without spares, even a modest fix draws the eye.
If there are no spare tiles and the bottom row is likely to break, replacing the whole backsplash is often the cleaner decision.
Judge the Tile Against the New Slab, Not the Old Top
A backsplash that looked fine against plain laminate can clash with a new pattern. Busy veined engineered stone or granite against a busy patterned tile often fights for attention.
Hold the tile up against a real slab or sample, in your kitchen light rather than showroom light. If the two compete, the backsplash is the easier piece to change. A quiet tile behind a lively stone usually reads better than two statements side by side.
Consider a Matching Stone Backsplash, and Decide Early
A slab backsplash that matches the countertop has to be planned with the countertop. The fabricator needs to measure it at template time so the veining can be matched and there is enough slab. Adding it later may mean a different slab with a different look. A 4 inch stone splash is a choice, not a requirement of every stone countertop.
Check the Walls First in Older Homes
Many older Greenville homes, including mill village houses and early twentieth century homes in established neighborhoods, have plaster walls or walls that have settled out of flat. A rigid slab will not conform to a wavy wall and will leave gaps. Small format tile is more forgiving. Run a long straightedge along the wall before choosing a slab.
Tiling Over the Old Backsplash Has Limits
Setting new tile over existing tile is possible, but only when the old tile is well bonded, clean, and deglossed. The extra thickness shows at the outer edges, so a trim piece or edge profile is needed there. Check clearances at window trim and under upper cabinets as well.
Thickness also affects outlets and switches. Receptacles then need box extenders so devices sit firmly and cover plates seat flat. Have a licensed electrician handle any electrical work.
Look Behind the Old Backsplash Before Anything Goes Back
Once the old top and splash are off, inspect the wall, especially around the sink. Soft drywall, dark staining, or mold often hides behind an old splash, since leaking faucets and failed caulk lines go unnoticed. Greenville's humid summers can keep a damp wall cavity from drying out. Repair moisture damage before anything new is installed.
Older homes call for another precaution. Homes built before 1978 may have lead paint, and older mastics, joint compounds, or adhesives may contain asbestos. Test before cutting, sanding, or demolishing old walls and backsplash adhesive.
Get the Order of Work Right
The sequence matters more than most people expect:
- Cabinets are installed and leveled.
- The fabricator templates.
- The countertop is installed.
- The tile backsplash goes on last, set off the new countertop surface.
Tiling before the counters arrive means guessing the height. That guess is how a new backsplash ends up with a gap or an awkward cut.
Material Details That Change the Plan
- Glass tile. Glass is translucent, so gray thinset, trowel ridges, and voids can show through. Use a white setting material made for glass and get full coverage behind each piece.
- Butcher block. Wood moves with humidity, and Greenville sees large swings between humid summers and drier heated winters. Leave an expansion gap at the wall, seal all faces of the wood, and use a flexible sealant at the backsplash rather than a rigid joint.
- Stone cutting. Cutting engineered or natural stone releases fine silica dust (silicon dioxide), which can cause silicosis when inhaled. Backsplash pieces and outlet cutouts should be cut wet, ideally at the fabrication shop or outdoors with proper controls. Never dry cut them in the kitchen.
Seal the Joint Correctly
Use a color matched silicone or flexible sealant where the countertop meets the backsplash and at inside corners, not grout. Houses on crawlspaces, common across the Upstate, move a little with seasonal moisture changes, and grout at a change of plane will crack.
Caulk is not a cure for a big gap either. A thin bead handles a very small gap. Wide caulk lines shrink, crack, and collect grime. If removal leaves a larger gap between the new top and the old tile, the honest fixes are a new bottom row, a trim strip, or a new backsplash.
When thinset and grout go in during summer, give them time. Both cure more slowly in humid conditions, so follow the product cure times before heavy use, sealing, or harsh cleaners, and run the HVAC or a dehumidifier during installation.
A Quick Way to Decide
Replace the backsplash if any of these are true:
- The new top will sit at a noticeably different height.
- The bottom row breaks, or there are no spare tiles to repair it.
- The wall behind a laminate or solid surface splash needs patching anyway.
- Upper cabinets, under-cabinet lighting, or a range hood are changing, so the top edge of the tile no longer lines up.
- The tile clashes with the new surface when held next to a real sample.
- Moisture damage turns up behind the sink.
Keep it if the height lines up, the tile comes through removal intact, and the look still works. Replacing during the countertop project also means one round of dust, one round of patching, and a tile layout set to the new surface. Keeping the old tile only pays off if it survives.